

The Seafloor Shrine is a crucial and enigmatic location in Dragon's Dogma 2. It is integral to the main storyline and offers valuable rewards and lore. This guide provides a detailed walkthrough to ensure you maximize every opportunity the shrine offers.
To access the Seafloor Shrine, follow these steps:
- Main Storyline Progress: Advance through the main storyline until you activate the quest "A New Godsway" after visiting Bakbattahl.
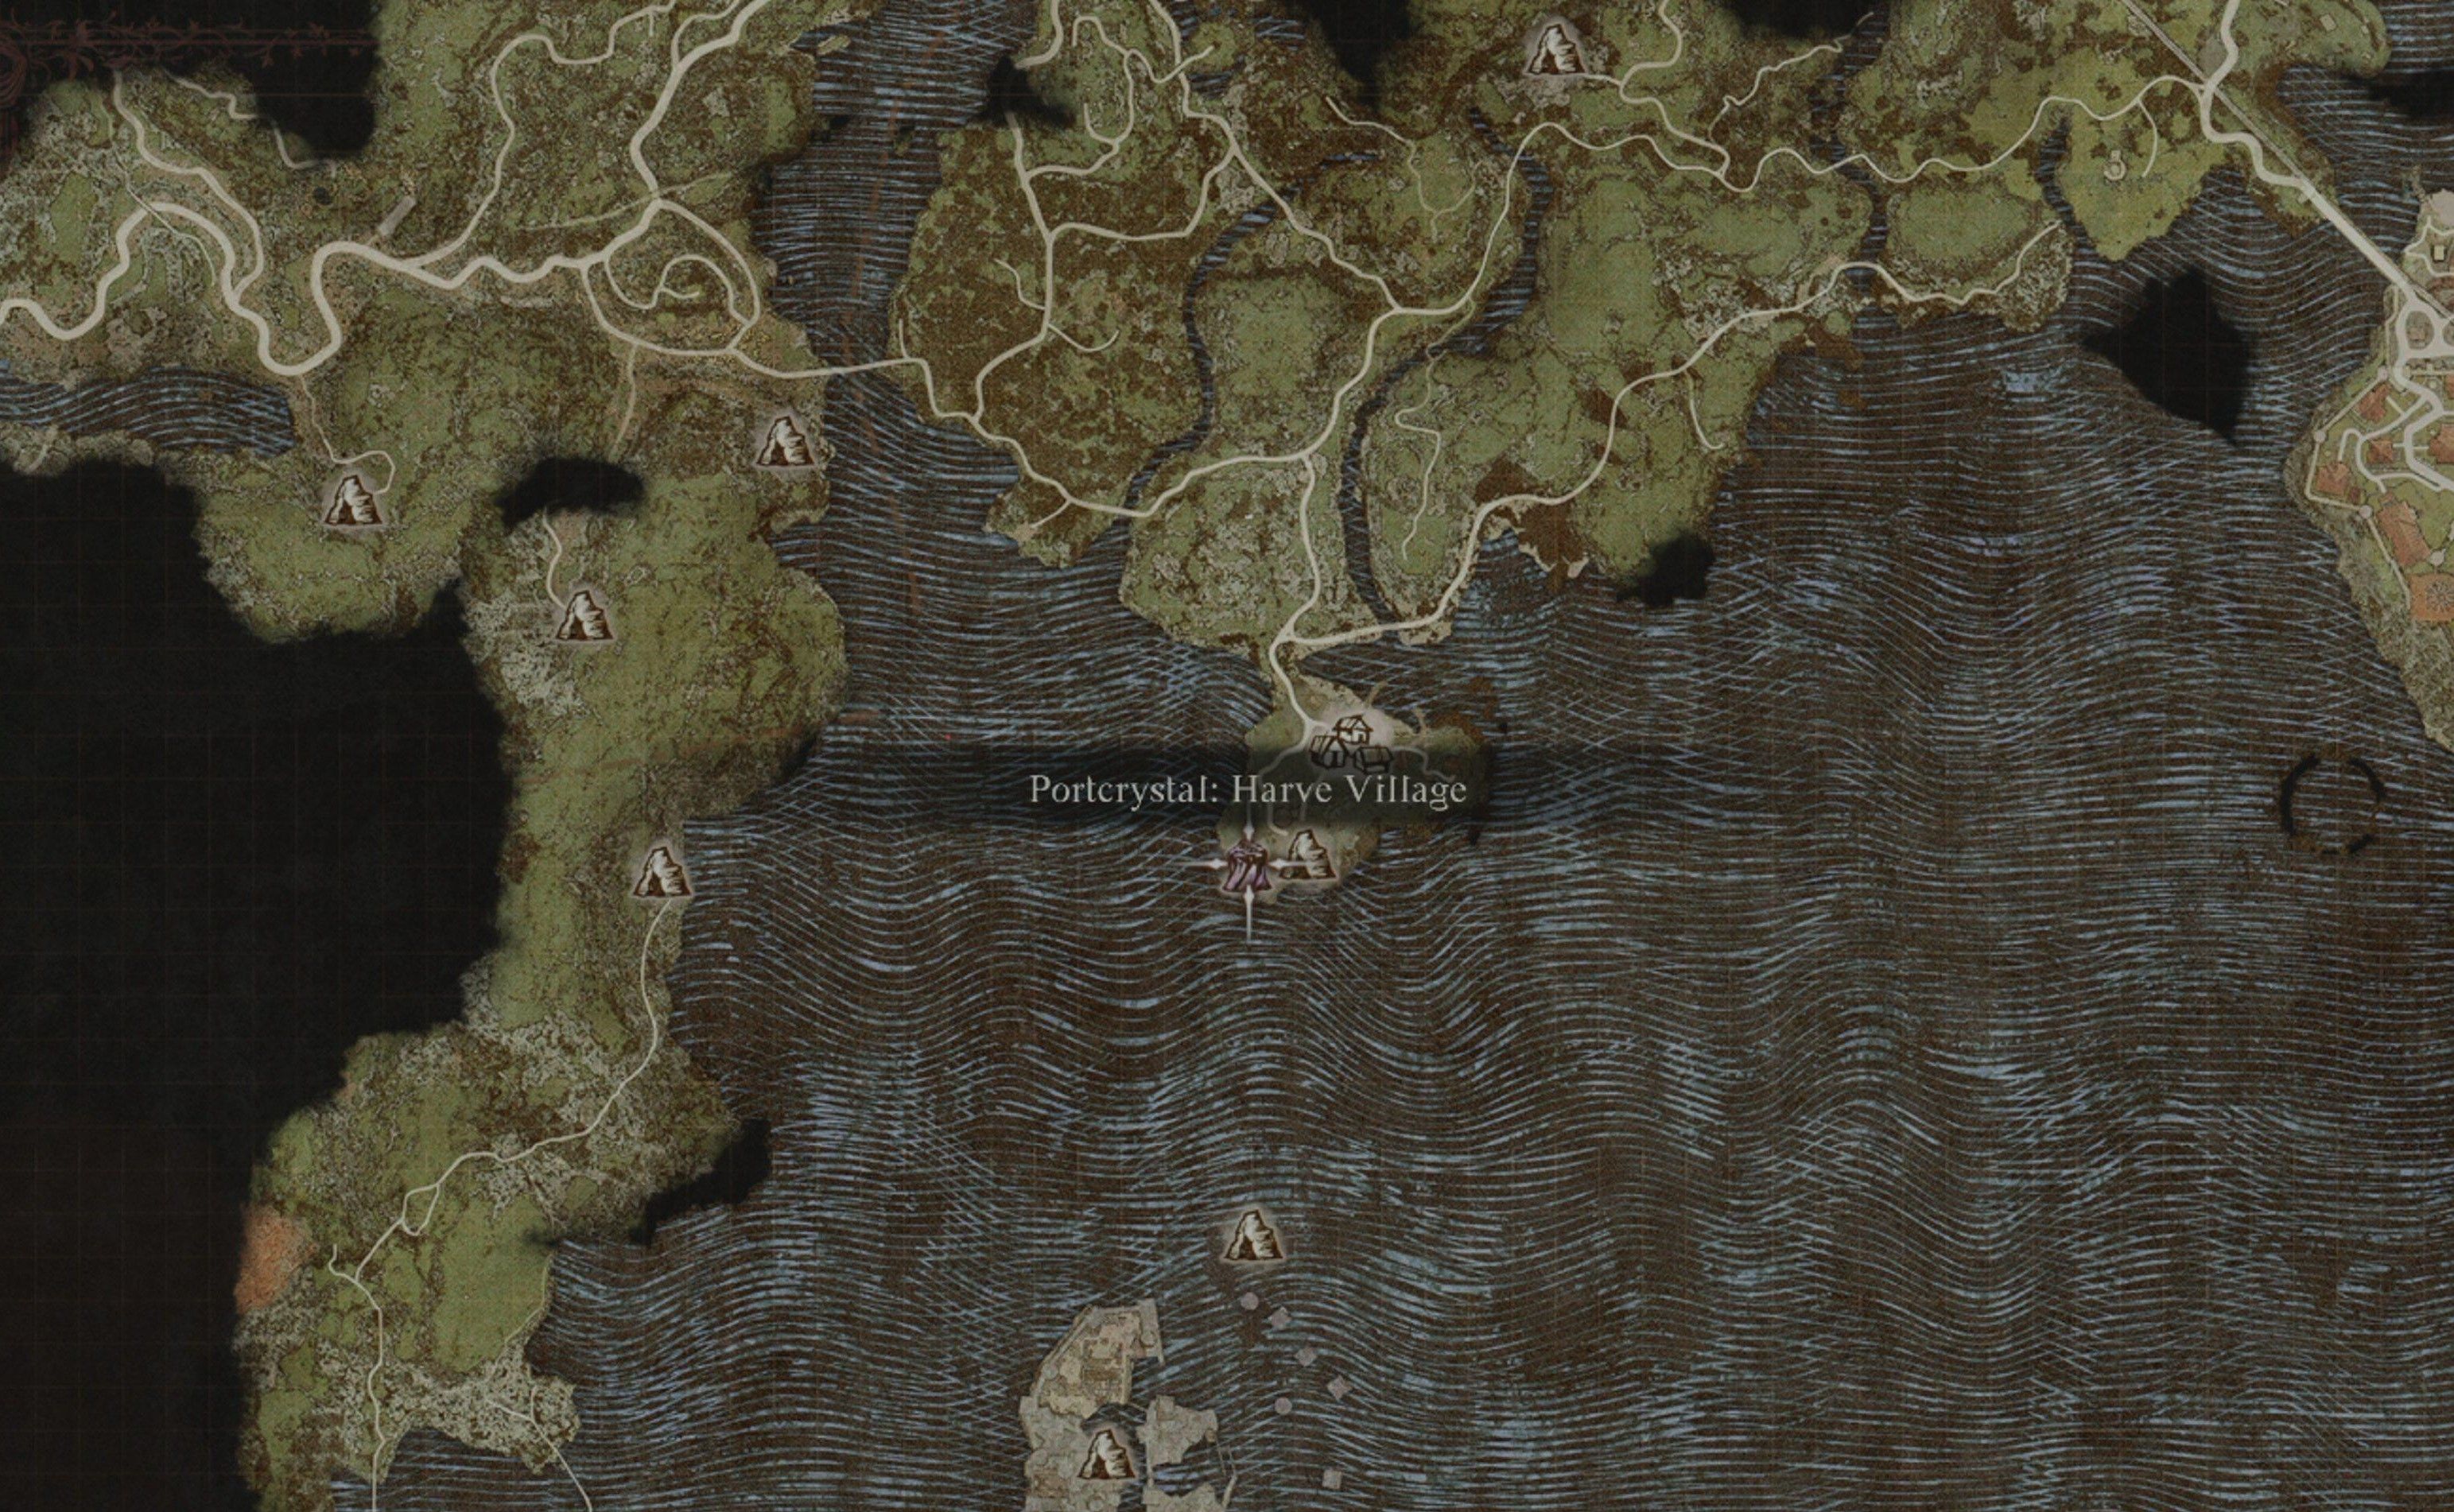
- Journey to Harve Village: Return to Harve Village and find the entrance to Stormwind Cave.
- Navigate Stormwind Cave: Proceed to the deepest part of the cave where a seismic event has opened a previously blocked path, leading to an underground temple entrance.
Entering the Seafloor Shrine
Upon entering the Seafloor Shrine:
- Story Cutscene: As you enter, a pivotal cutscene will play, setting the stage for the discoveries ahead.
- Elevator Access: Post-cutscene, you'll find an elevator that descends into the main area of the Seafloor Shrine.
Navigating the Gaol Area
You'll find yourself in the Jail area once you descend into the Seafloor Shrine via the elevator. This section serves as a basic dungeon setup with several enemies and loot opportunities.
Key Loot Locations
-
Blue Chests Near Elevator:
-
 Incanter's Coat
: This item is valuable for sorcerers, enhancing magical abilities. It's located in one of the blue chests close to the elevator area.
Incanter's Coat
: This item is valuable for sorcerers, enhancing magical abilities. It's located in one of the blue chests close to the elevator area.
-
-
Wooden Chests in the Gaol:
-
 Silver Crown
: Often found scattered around the gaol area. This item boosts defense stats and has aesthetic value.
Silver Crown
: Often found scattered around the gaol area. This item boosts defense stats and has aesthetic value.
-
 Miner's Shirt
and
Miner's Shirt
and
 Laborer's Trousers
: These items offer basic protection and are found in the wooden chests scattered around the area.
Laborer's Trousers
: These items offer basic protection and are found in the wooden chests scattered around the area.
-
Locked Room and Key
-
Locating the
 Makeshift Gaol Key
: As you explore the gaol corridor near the stairs, look for a key lying on the floor to the left of a locked door.
Makeshift Gaol Key
: As you explore the gaol corridor near the stairs, look for a key lying on the floor to the left of a locked door.
-
Unlocking and Looting: Use the key to access a locked room within the gaol. Inside, you'll find a red chest containing the
 Ring of Profusion
, which enhances your character's magical proficiency. The other chests contain
Ring of Profusion
, which enhances your character's magical proficiency. The other chests contain
 Rotten Harspud
, which you can take or leave.
Rotten Harspud
, which you can take or leave.
Strategy for Gaol Exploration
- Combat Tips: The enemies in the gaol are not particularly tough, but they can overwhelm you if not handled carefully. Use area-of-effect spells or wide-swinging melee attacks to manage groups effectively.
- Item Management: Given the clutter of less useful items like Rotten Harspuds, manage your inventory by prioritizing valuable loot. Make sure to leave space for the more significant items like the Ring of Profusion and Incanter’s Coat.
Transition to Sacred Grounds
After escaping from the Gaol area through the stairs, you will emerge into the Sacred Grounds. This part of the Seafloor Shrine is above sea level and includes the remains of an old castle, offering new exploration opportunities and rewards.
Exploring the Ruins
The Sacred Grounds feature several key locations where you can find valuable items:
-
 Wakestone Shard
: Climb the main set of stairs in the ruined keep, turn left, and ascend the tower to find a stone chest at the top. This shard is crucial for reviving your character upon death.
Wakestone Shard
: Climb the main set of stairs in the ruined keep, turn left, and ascend the tower to find a stone chest at the top. This shard is crucial for reviving your character upon death.
-
Stargazer's Garb
: From the same set of stairs, find an intact walkway leading southwest towards the sea. The chest at the end of this path contains the Stargazer’s Garb, beneficial for magical defense.
-
 Allheal Elixir
: Instead of heading towards the tower, take a left from the main stairs and navigate a broken path requiring some parkour skills. This path leads to a chest with the Allheal Elixir, which fully restores health.
Allheal Elixir
: Instead of heading towards the tower, take a left from the main stairs and navigate a broken path requiring some parkour skills. This path leads to a chest with the Allheal Elixir, which fully restores health.
-
Uniter's Mantle
: Go through the keep, turn right at the main stairs, and follow the path all the way around to a room with a balcony. The chest in this room contains the Uniter’s Mantle, enhancing unity and cooperation among your party members.
Exploring the Seafloor Shrine and particularly the Sacred Grounds not only provides valuable loot but also deepens your engagement with the lore and environment of Dragon's Dogma 2. Successfully navigating this area requires careful attention to both exploration and combat strategies, making it a fulfilling yet challenging experience.